
How to Patch Drywall Like a Pro: Expert Tips from BPM Painting
Understanding the Basics of Drywall Patching
Drywall damage is a common issue in many homes, whether from accidental bumps or regular wear and tear. Knowing how to patch drywall can save you money and keep your walls looking pristine. With the right techniques, you can achieve a seamless finish. Here, we'll guide you through the process with expert tips from BPM Painting.
Gathering Your Materials
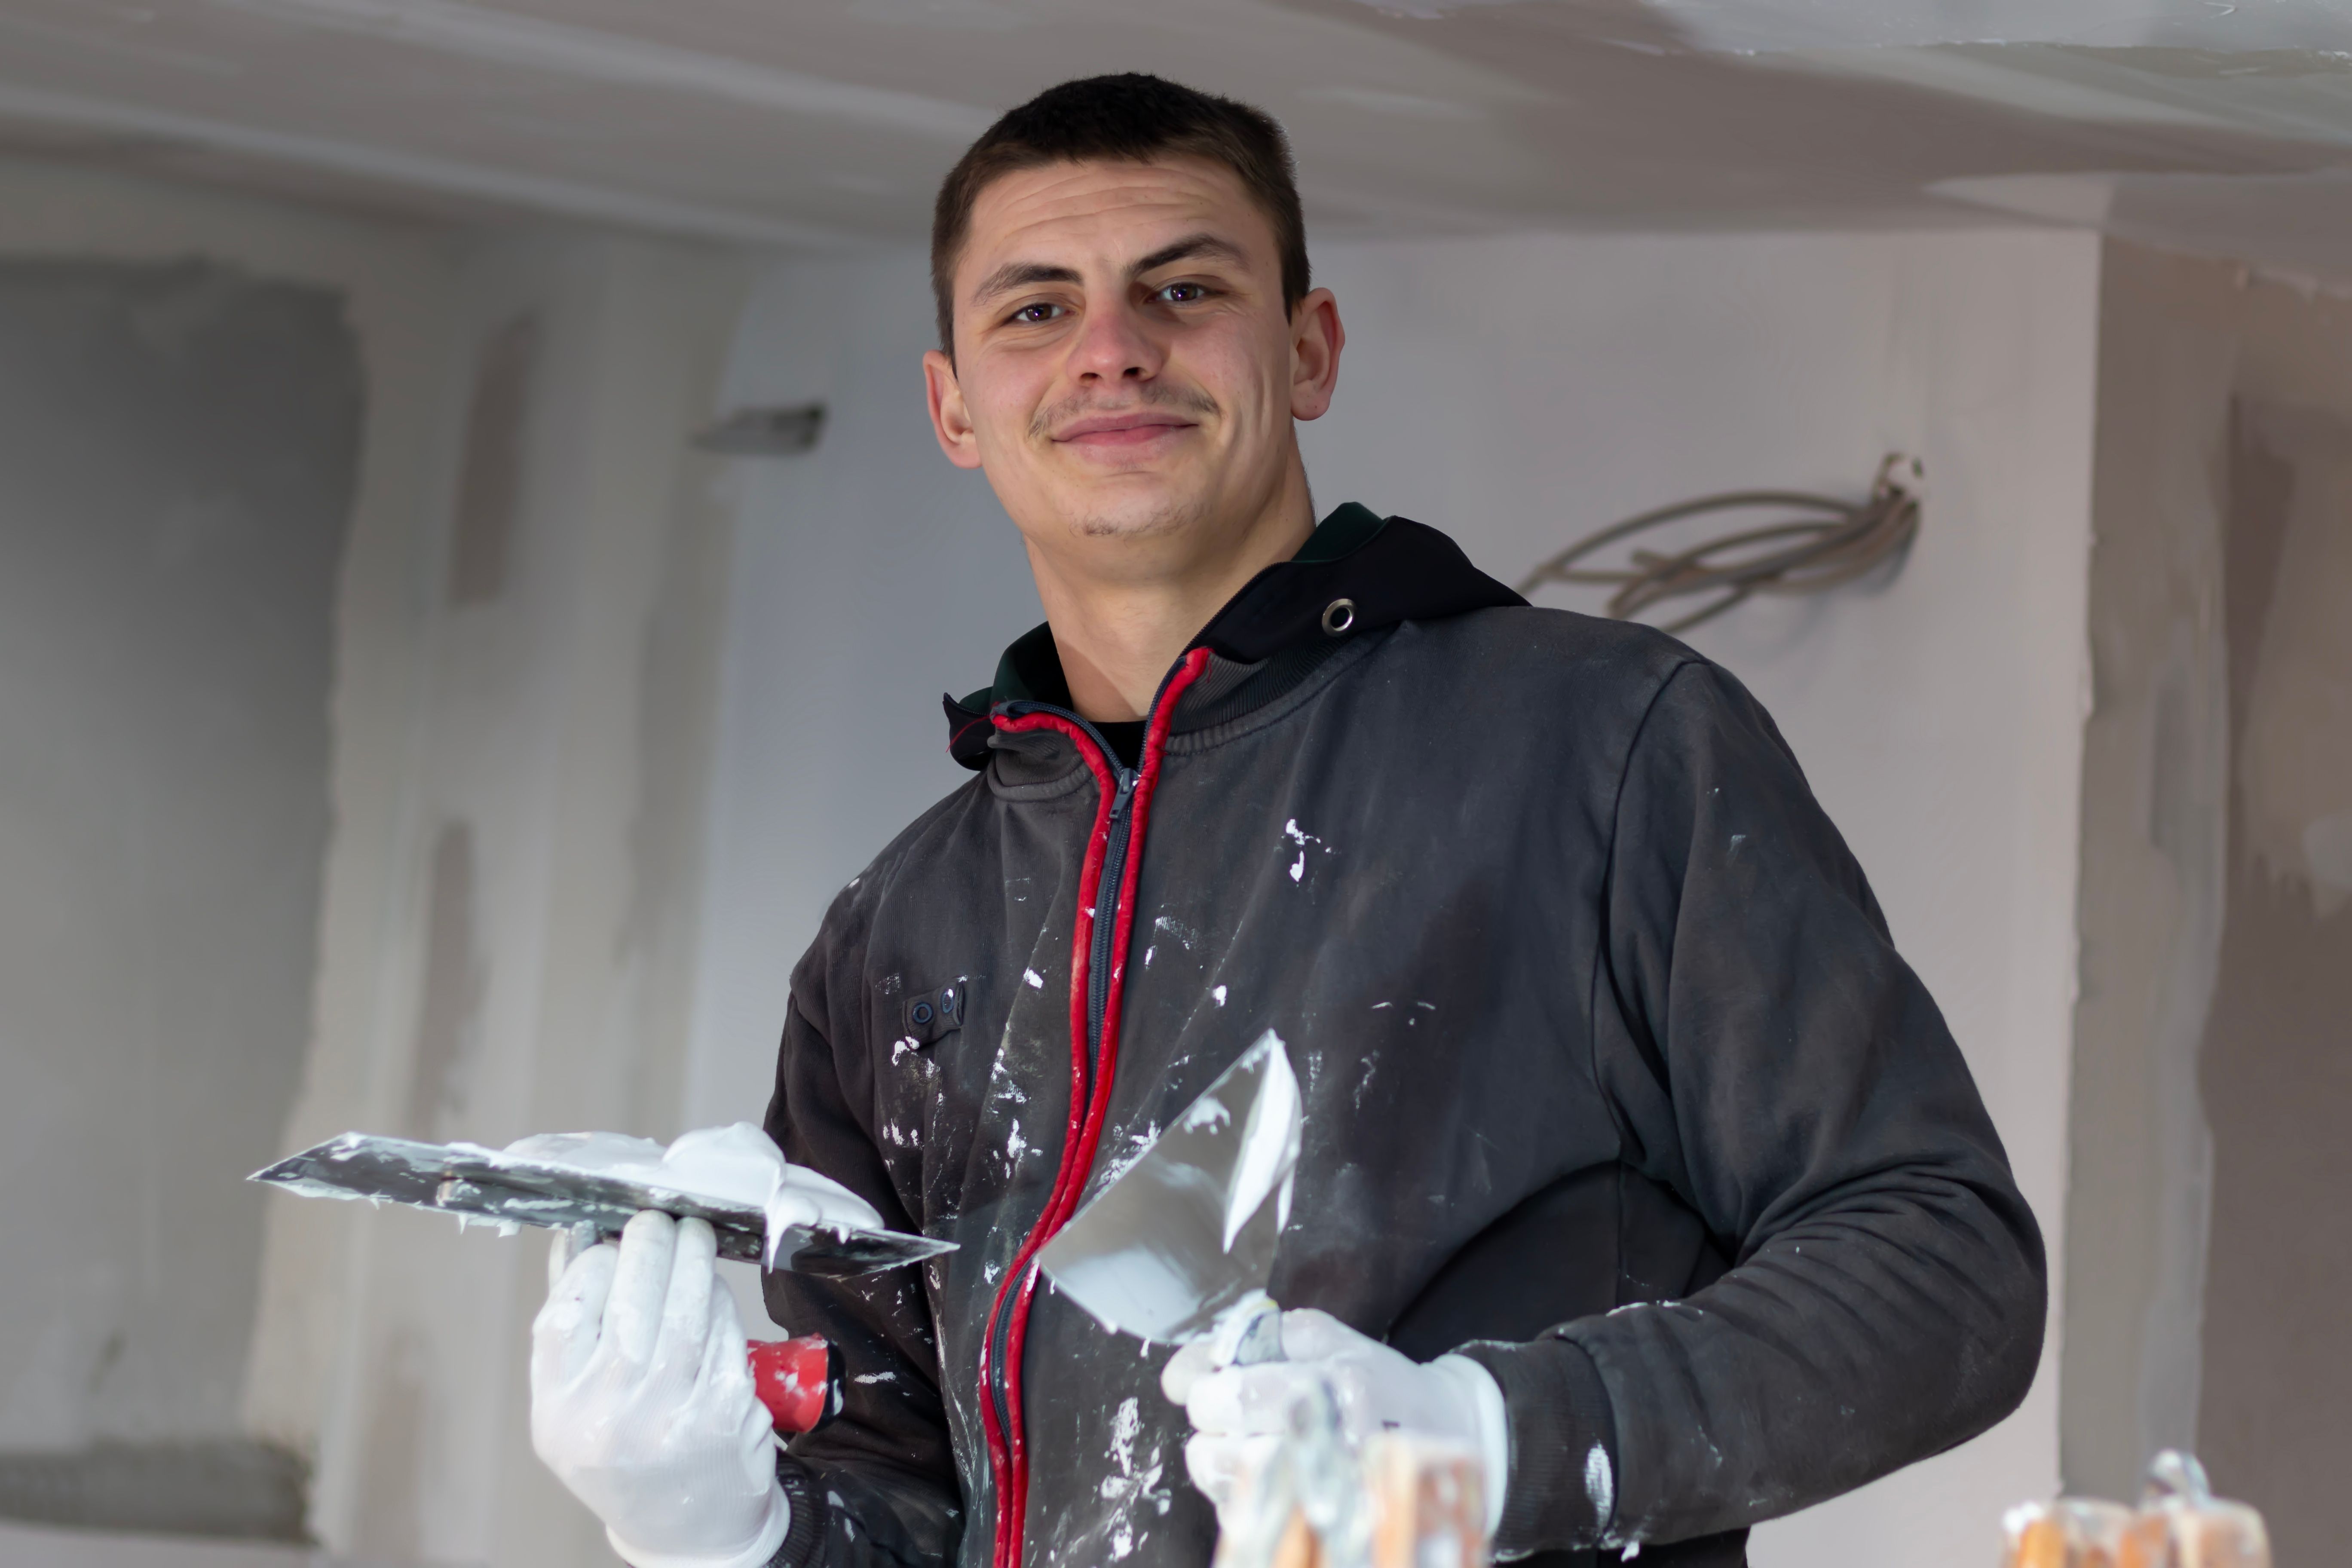
Before starting, ensure you have all the necessary materials. You'll need a drywall patch kit, joint compound, a putty knife, sandpaper, and a drywall saw. Having a clean cloth and a primer ready can also help achieve a professional finish.
Investing in quality materials will make the job easier and yield better results. The right tools not only simplify the task but also contribute to a smoother, more durable repair.
Preparing the Area
Preparation is key. Begin by cleaning the area around the damage to remove any dust or debris. If the hole is large, use a drywall saw to cut out a clean, square section. This will make it easier to fit the patch. For smaller holes, simply sand the edges to create a smooth surface.
Applying the Patch
Once the area is prepped, it's time to apply the patch. For small holes, a self-adhesive patch is convenient and easy to use. Simply place it over the hole and press firmly. For larger sections, you'll need to cut a piece of drywall to fit the opening, securing it with drywall screws.
Make sure the patch sits flush with the surrounding wall to ensure a seamless finish. Any protruding sections can cause issues later in the process.
Using Joint Compound
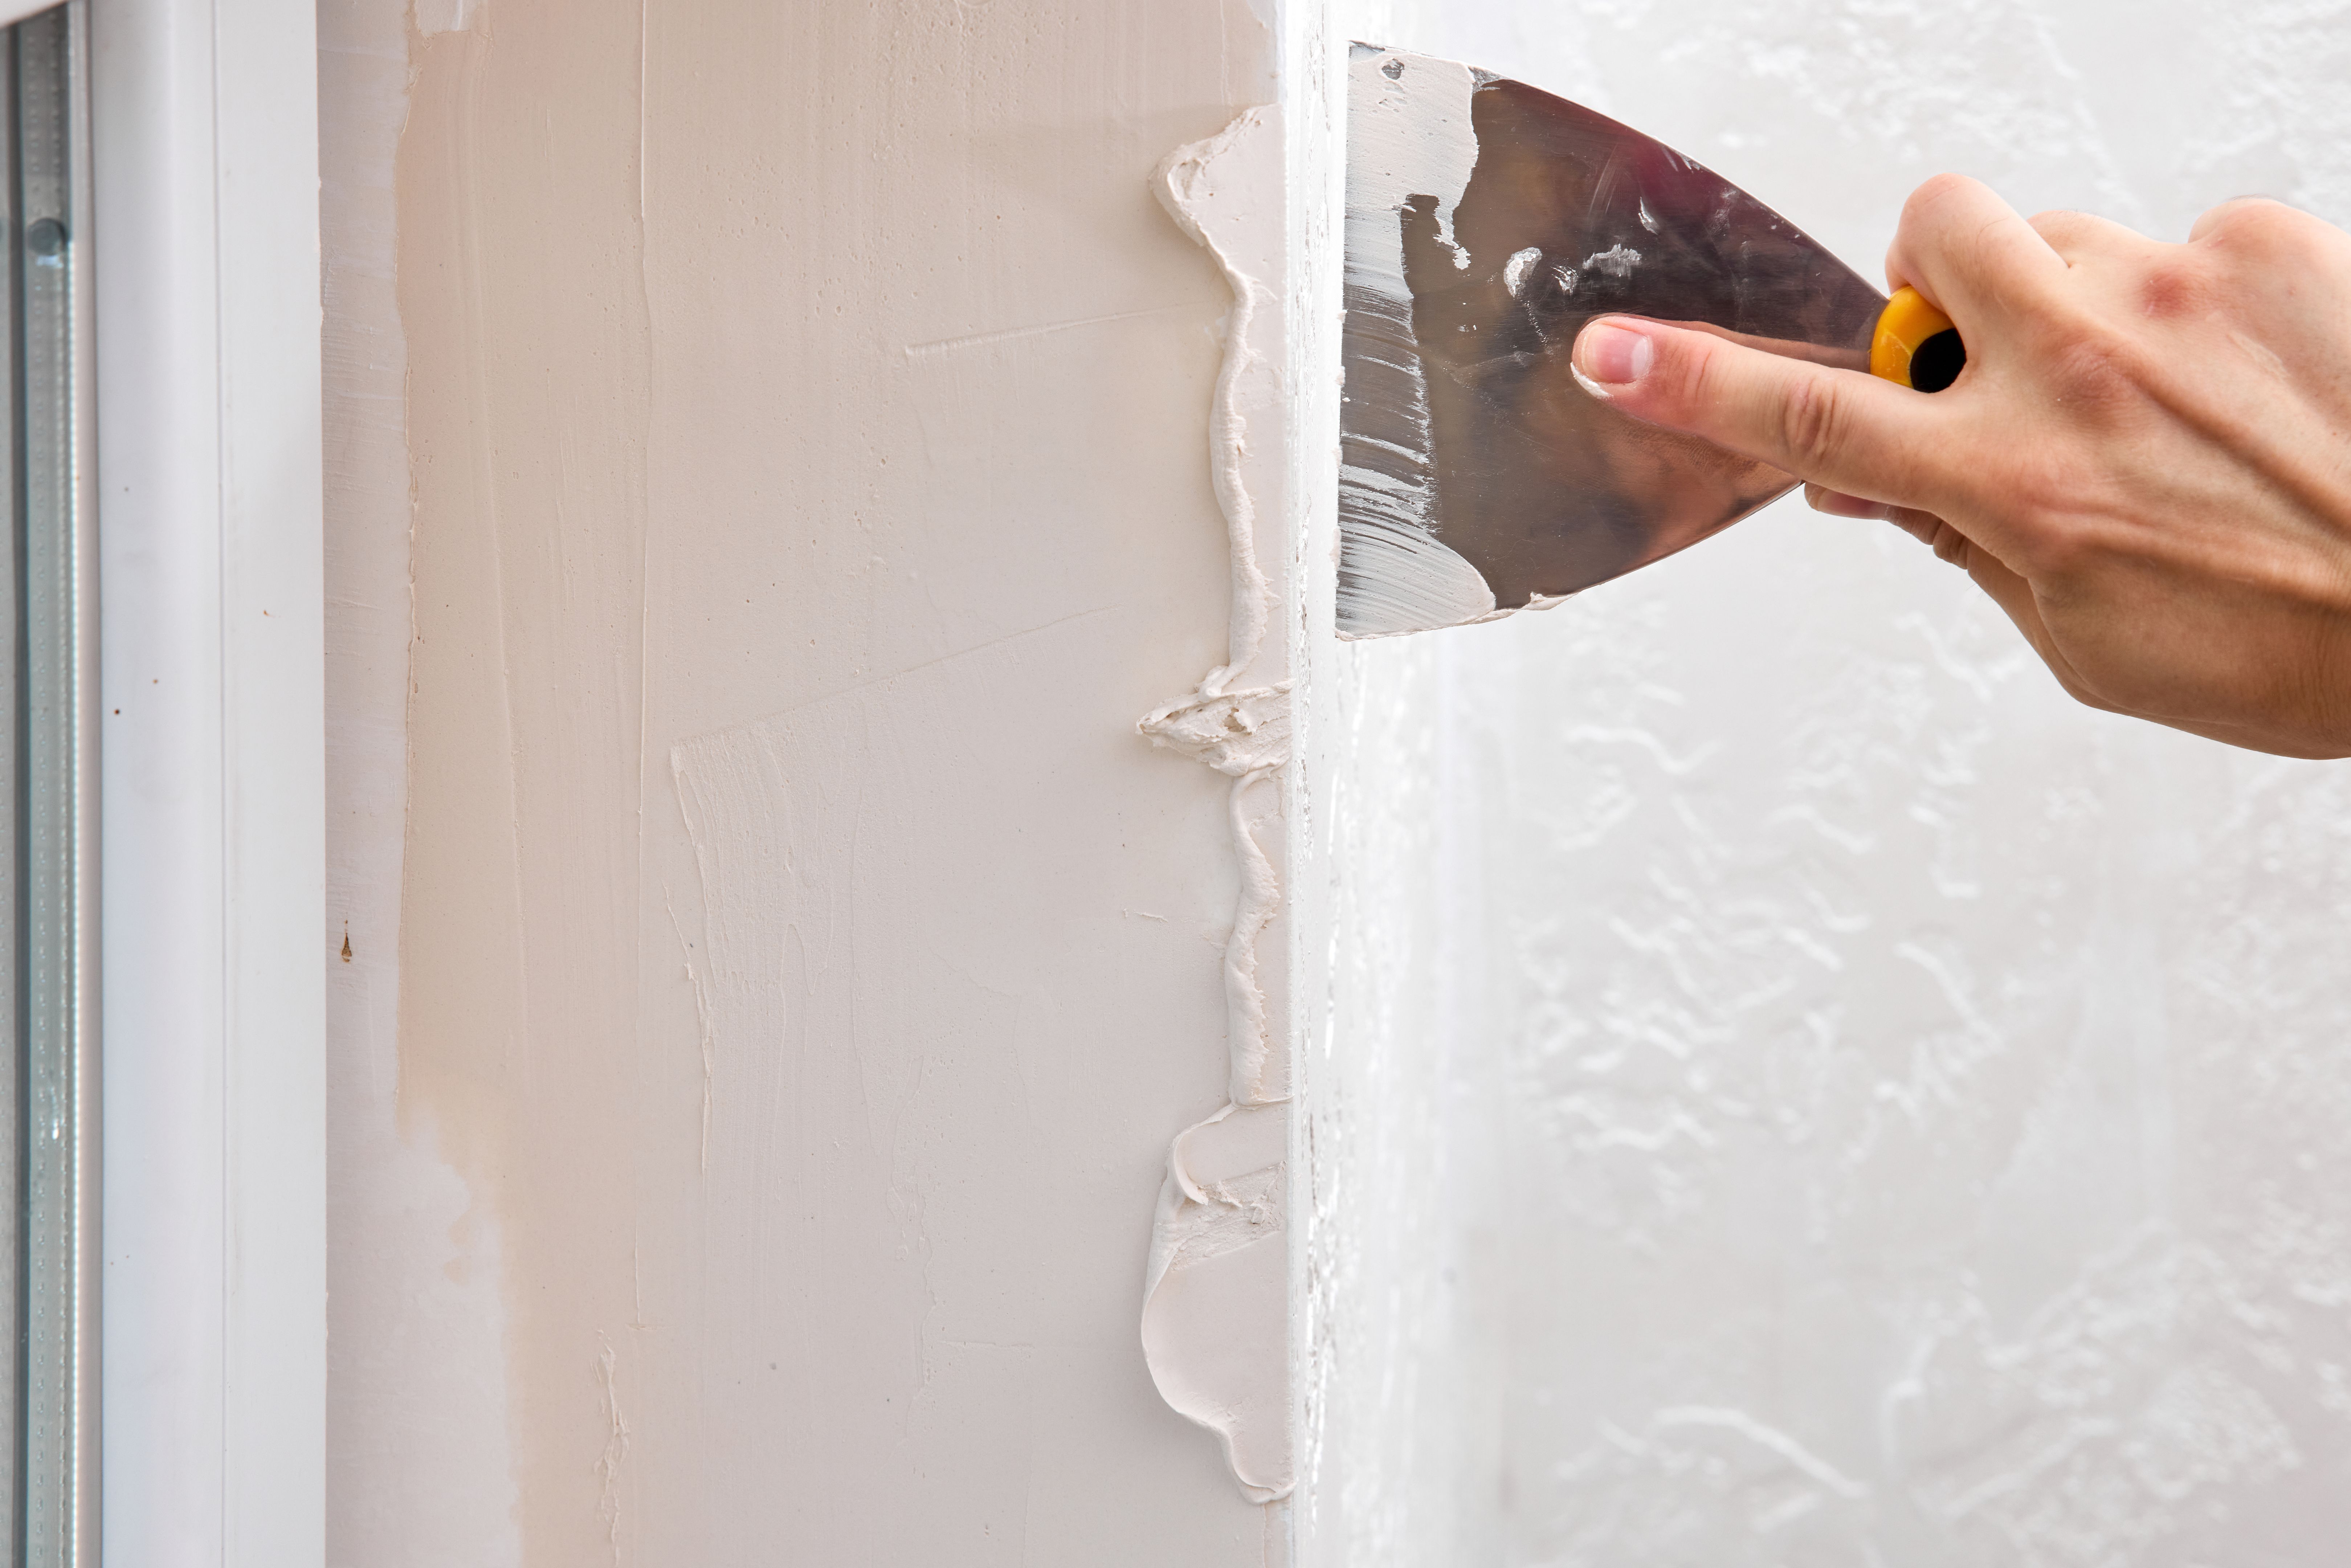
After the patch is in place, apply joint compound over the area using a putty knife. Spread it evenly, feathering the edges to blend with the existing wall surface. It's important to apply multiple thin layers, allowing each to dry completely before adding the next.
Sanding and Finishing
Once the joint compound is thoroughly dry, sand the area with fine-grit sandpaper until smooth. This step is crucial for achieving a professional finish. Be gentle to avoid damaging the patch or surrounding wall.
After sanding, wipe the area with a clean cloth to remove any dust. Apply a coat of primer to prepare the surface for painting. This step ensures that the paint adheres properly and that the patch doesn't stand out.
Painting the Wall
With the primer dry, you can now paint the wall. Use a high-quality paint that matches the existing color for a seamless look. Apply at least two coats, allowing each to dry thoroughly. This will ensure that the patched area blends perfectly with the rest of the wall.
By following these expert tips from BPM Painting, you can patch drywall like a pro, maintaining the beauty and integrity of your home's interior.