
Expert Drywall Patching: A Step-by-Step Guide
Drywall patching is an essential skill for any homeowner or DIY enthusiast. Whether it's a small dent or a larger hole, knowing how to repair drywall can save you time and money. In this guide, we'll walk you through the process step-by-step, ensuring a smooth and professional finish.
Understanding the Basics of Drywall Patching
Before diving into repairs, it's crucial to understand the types of damages you may encounter. Common issues include nail holes, dents, and larger holes caused by accidents. Identifying the problem will help you choose the right tools and materials for the job.
The most common tools you'll need include a putty knife, sandpaper, drywall compound, and a patching kit. Having these on hand will make the process much smoother and more efficient.
Preparing the Area
Start by cleaning the damaged area. Remove any loose debris or dust to ensure the patch adheres properly. If you're dealing with a large hole, you'll need to cut out the damaged section to create a clean, square opening.
Once the area is prepped, attach a backing support if necessary. For smaller holes, this step can be skipped, but for larger areas, a piece of wood can provide essential support for the patch.
Patching Small Holes and Dents
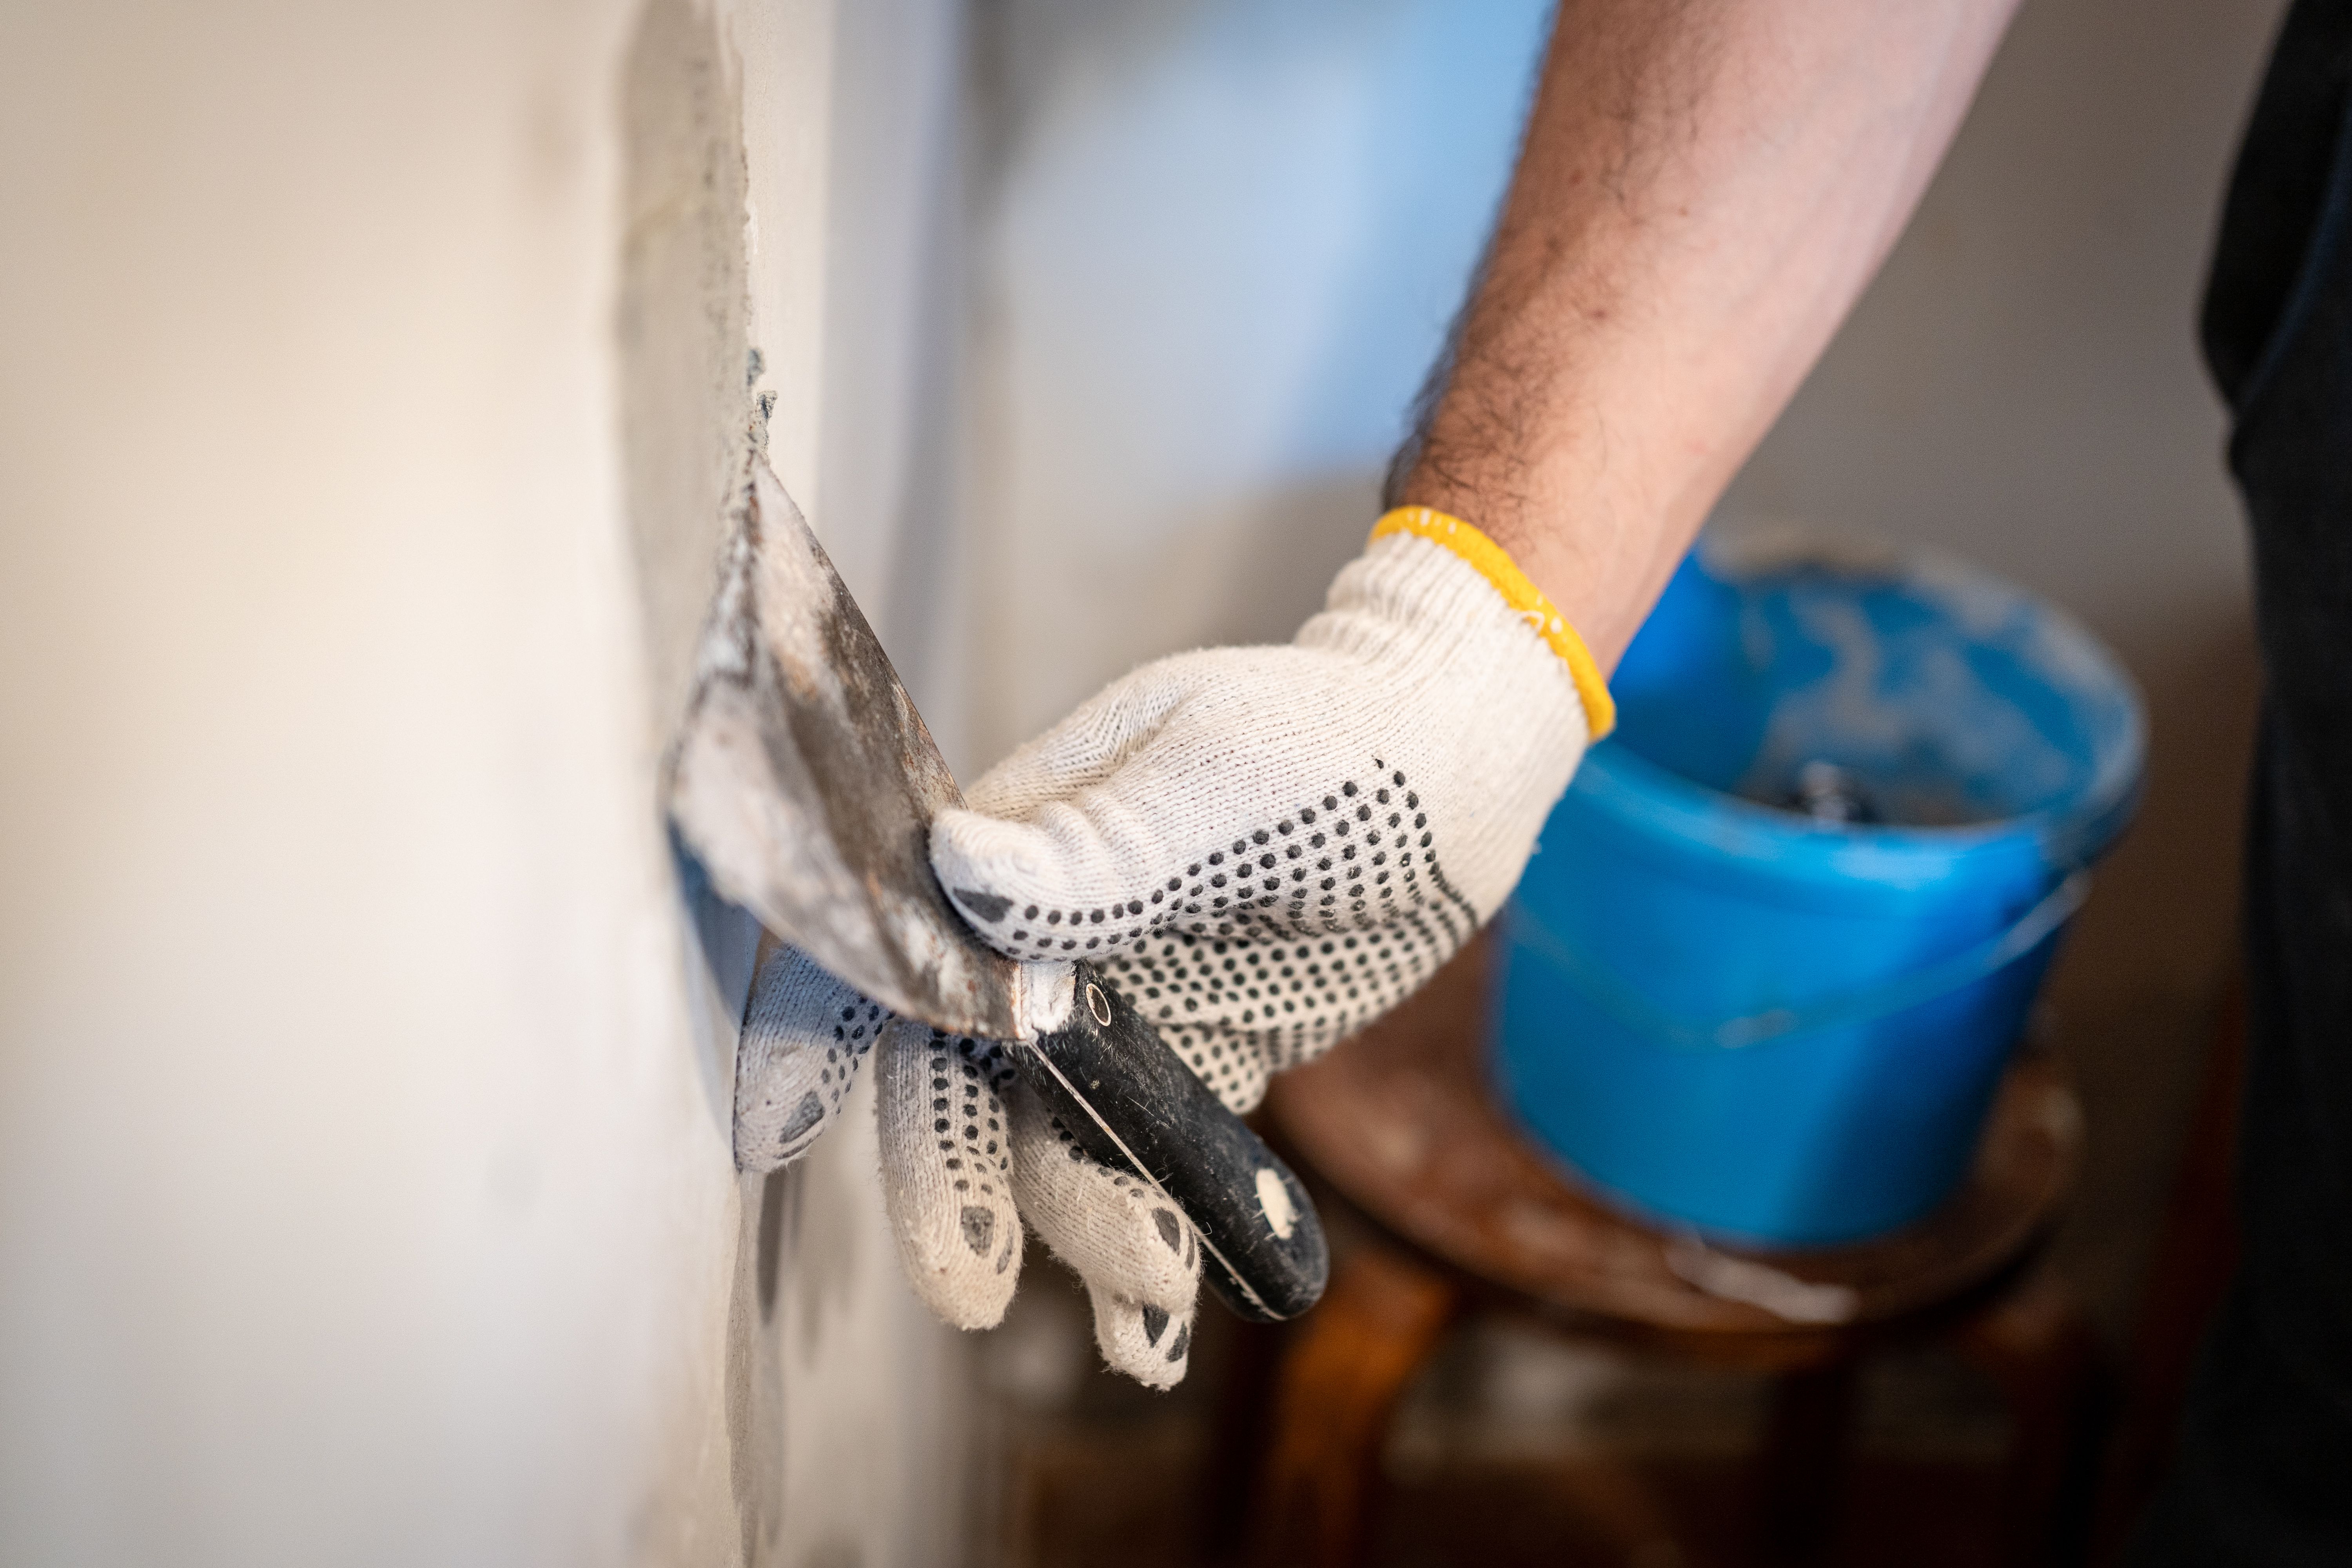
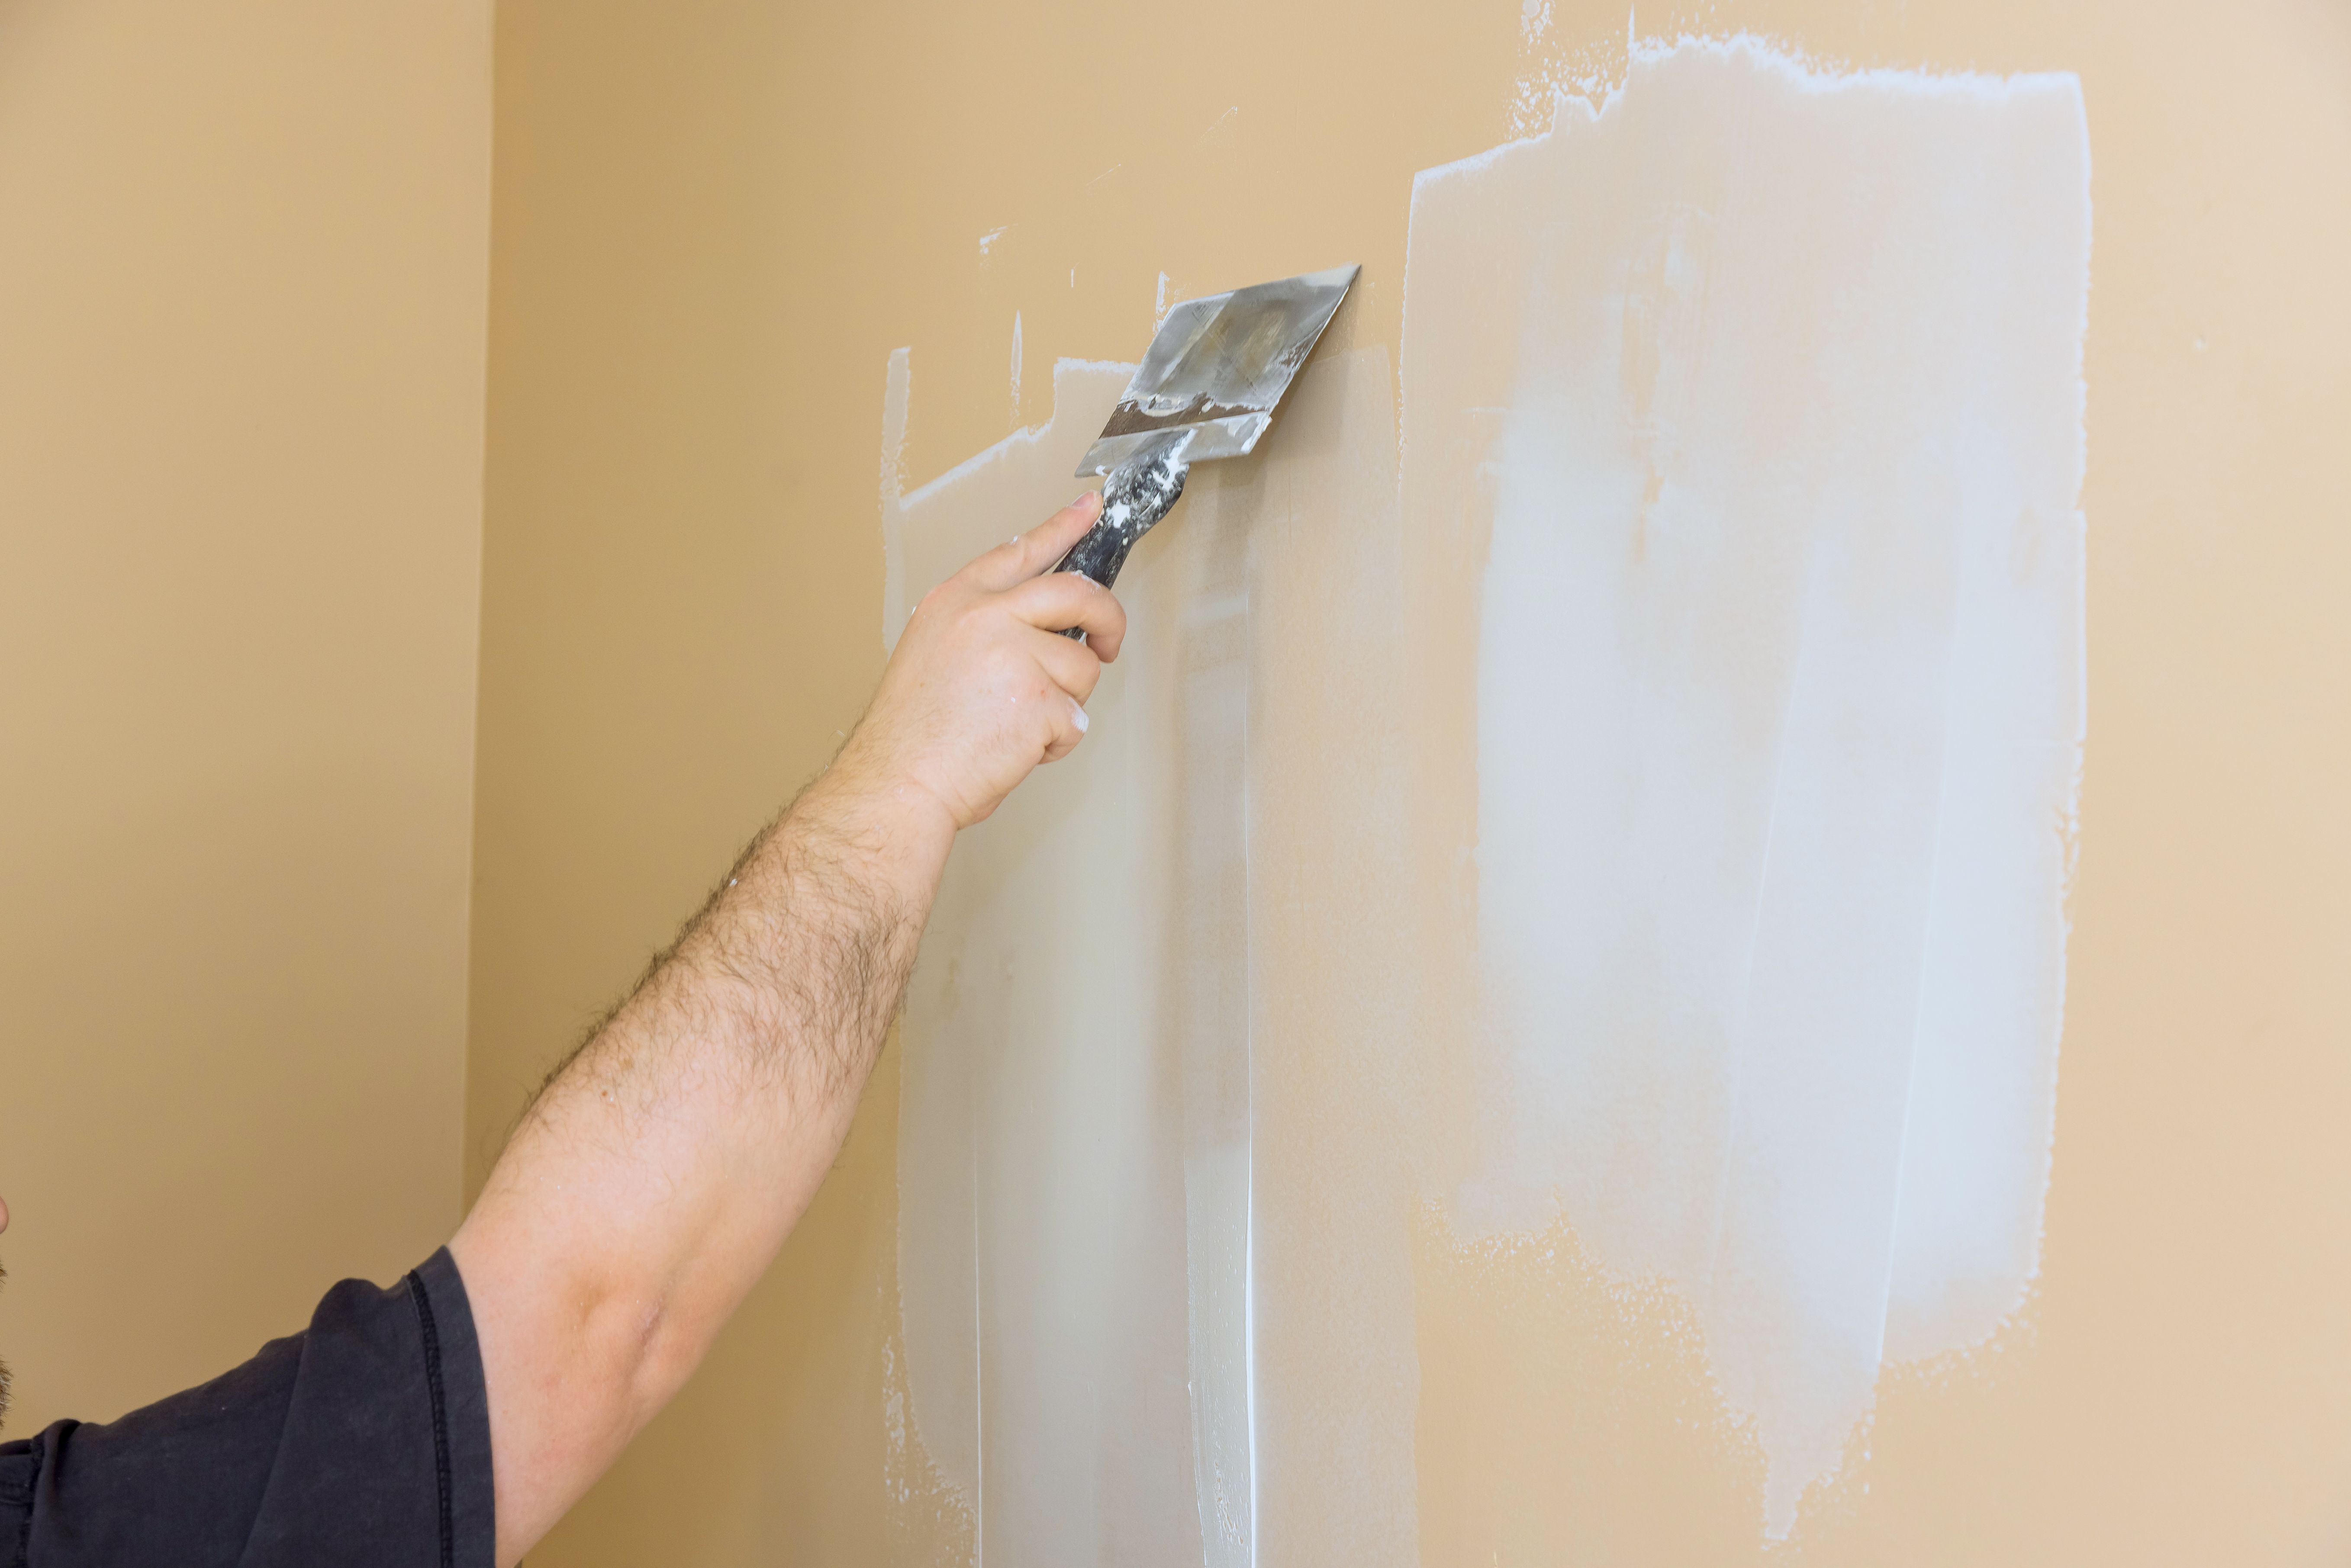
For minor damages like nail holes and small dents, applying a thin layer of drywall compound with a putty knife is usually sufficient. Spread the compound evenly, feathering the edges to blend it seamlessly with the surrounding wall.
Allow the compound to dry completely before sanding it down. This will create a smooth surface ready for painting. Remember, patience is key—rushing the process can lead to uneven surfaces.
Repairing Larger Holes
Larger holes require a bit more effort. Start by cutting a piece of drywall slightly larger than the hole. Fit the patch into the opening, securing it with drywall screws. Use joint tape along the edges to reinforce the patch.
Apply drywall compound over the tape and screws, smoothing it out with a putty knife. You may need to apply multiple layers, allowing each to dry thoroughly before sanding.
Finishing Touches
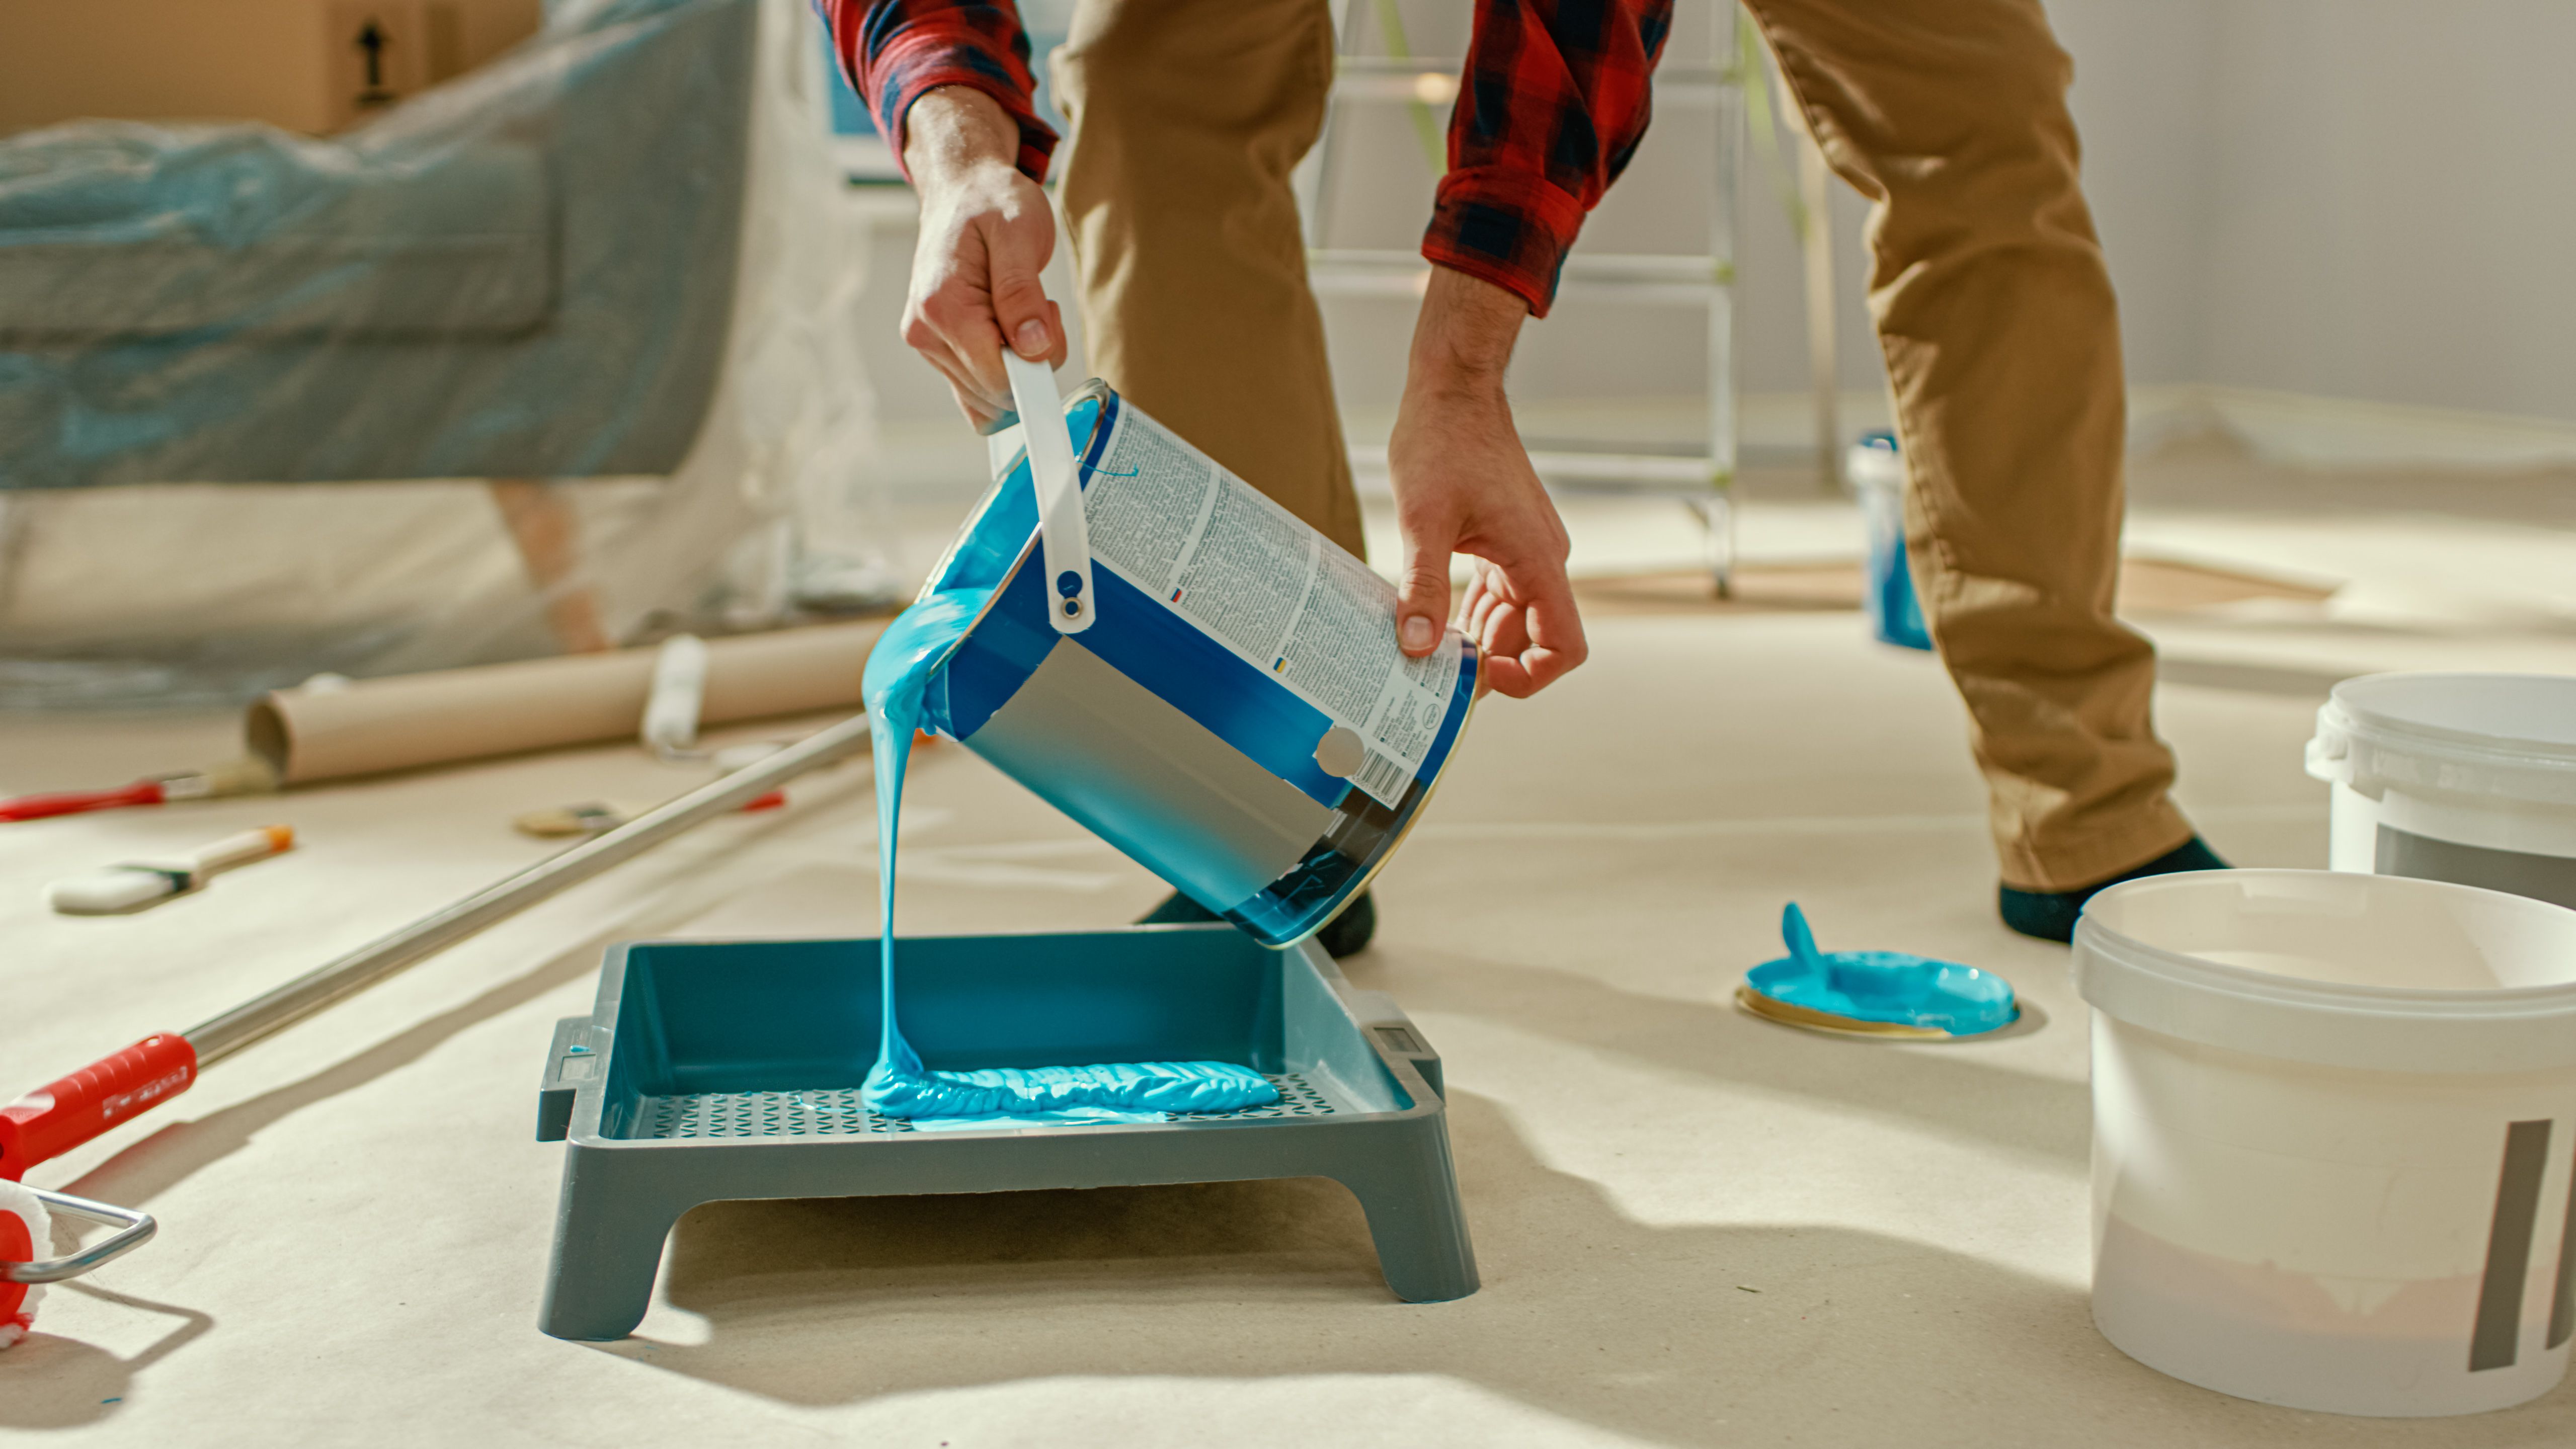
Once the patched area is smooth and dry, it's time for the finishing touches. Start by priming the area to seal it, then paint it to match the rest of the wall. This step ensures the repair blends seamlessly with the existing wall.
Inspect the repair under different lighting conditions to ensure there are no visible imperfections. If needed, lightly sand and apply a final coat of paint.
Tips for a Professional Finish
Always use high-quality materials for the best results. Investing in good drywall compound and paint can make a significant difference in the appearance and durability of the repair.
If you're unsure about any step, consulting with a professional or watching tutorial videos can provide additional guidance. With practice, your skills will improve, leading to more efficient and effective repairs.