
Choosing the Right Drywall Patching Techniques for Your Home
Understanding Drywall Patching
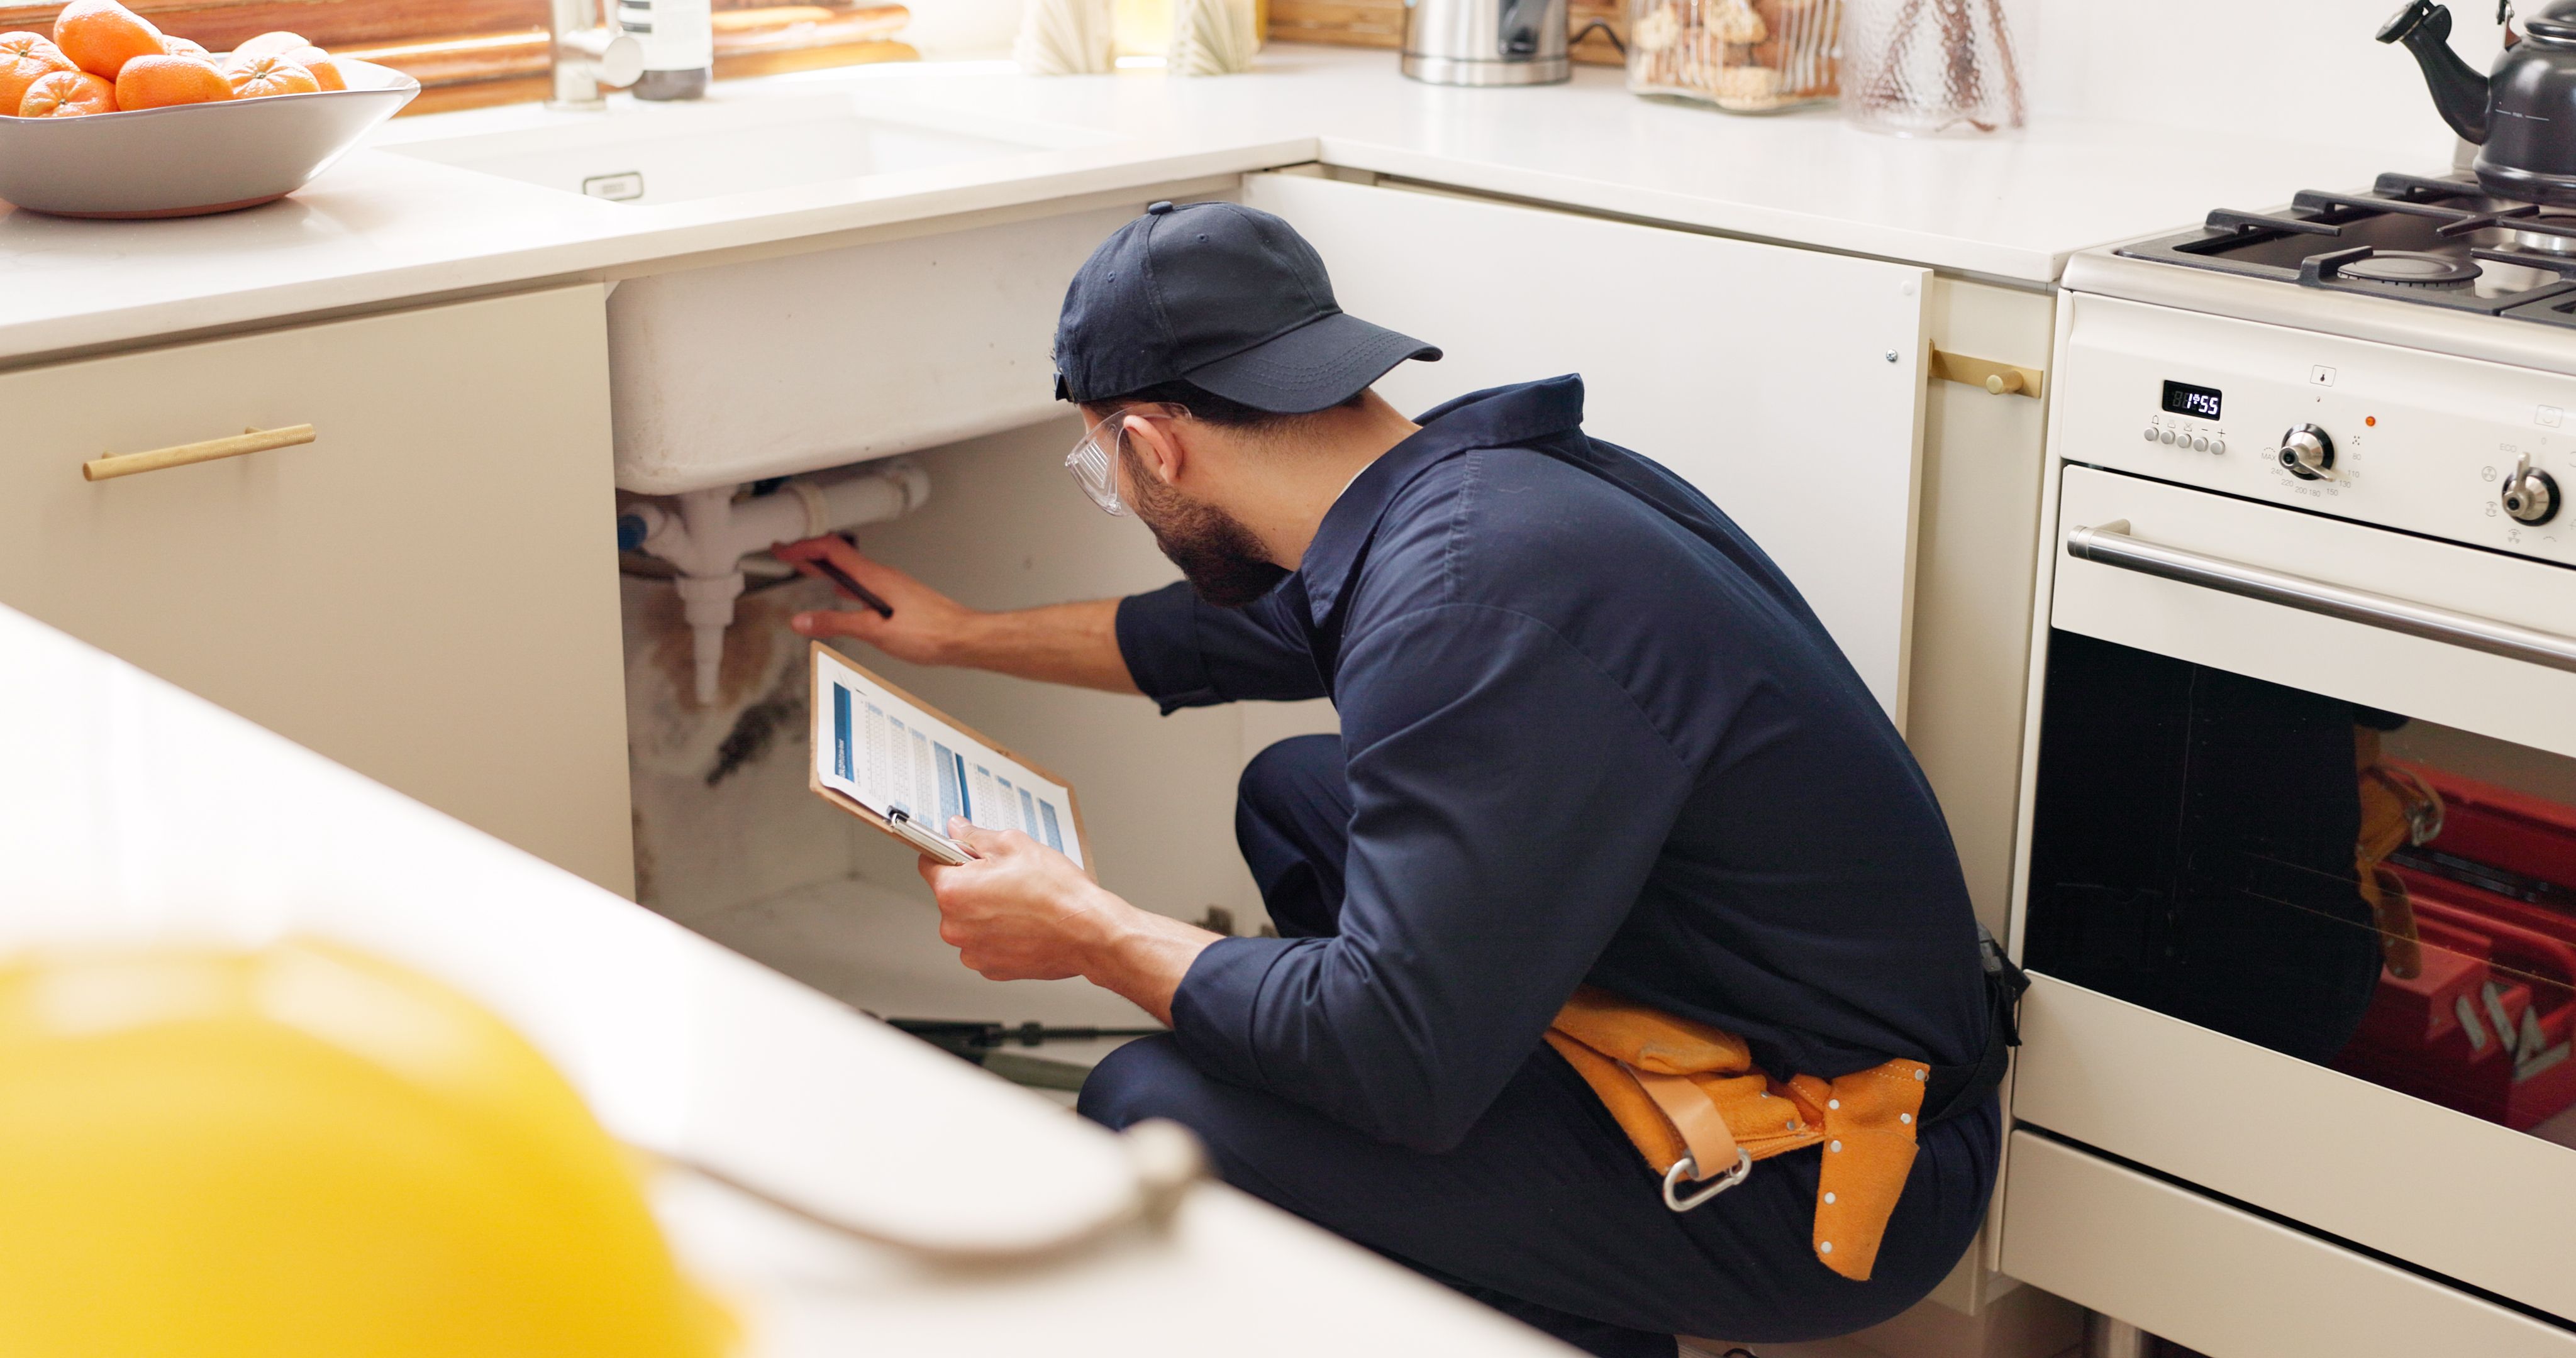
When it comes to home maintenance, drywall patching is an essential skill that every homeowner should learn. Whether you're dealing with minor dings or larger holes, choosing the right technique can make a significant difference in the longevity and appearance of your walls. Understanding your options is the first step towards effective drywall repair.
Drywall, also known as gypsum board, is a common material used in the construction of interior walls and ceilings. It offers a smooth surface for painting or wallpapering, but it's also susceptible to damage from everyday wear and tear. Fortunately, with the right patching techniques, you can restore your walls to their original beauty.
Assessing the Damage
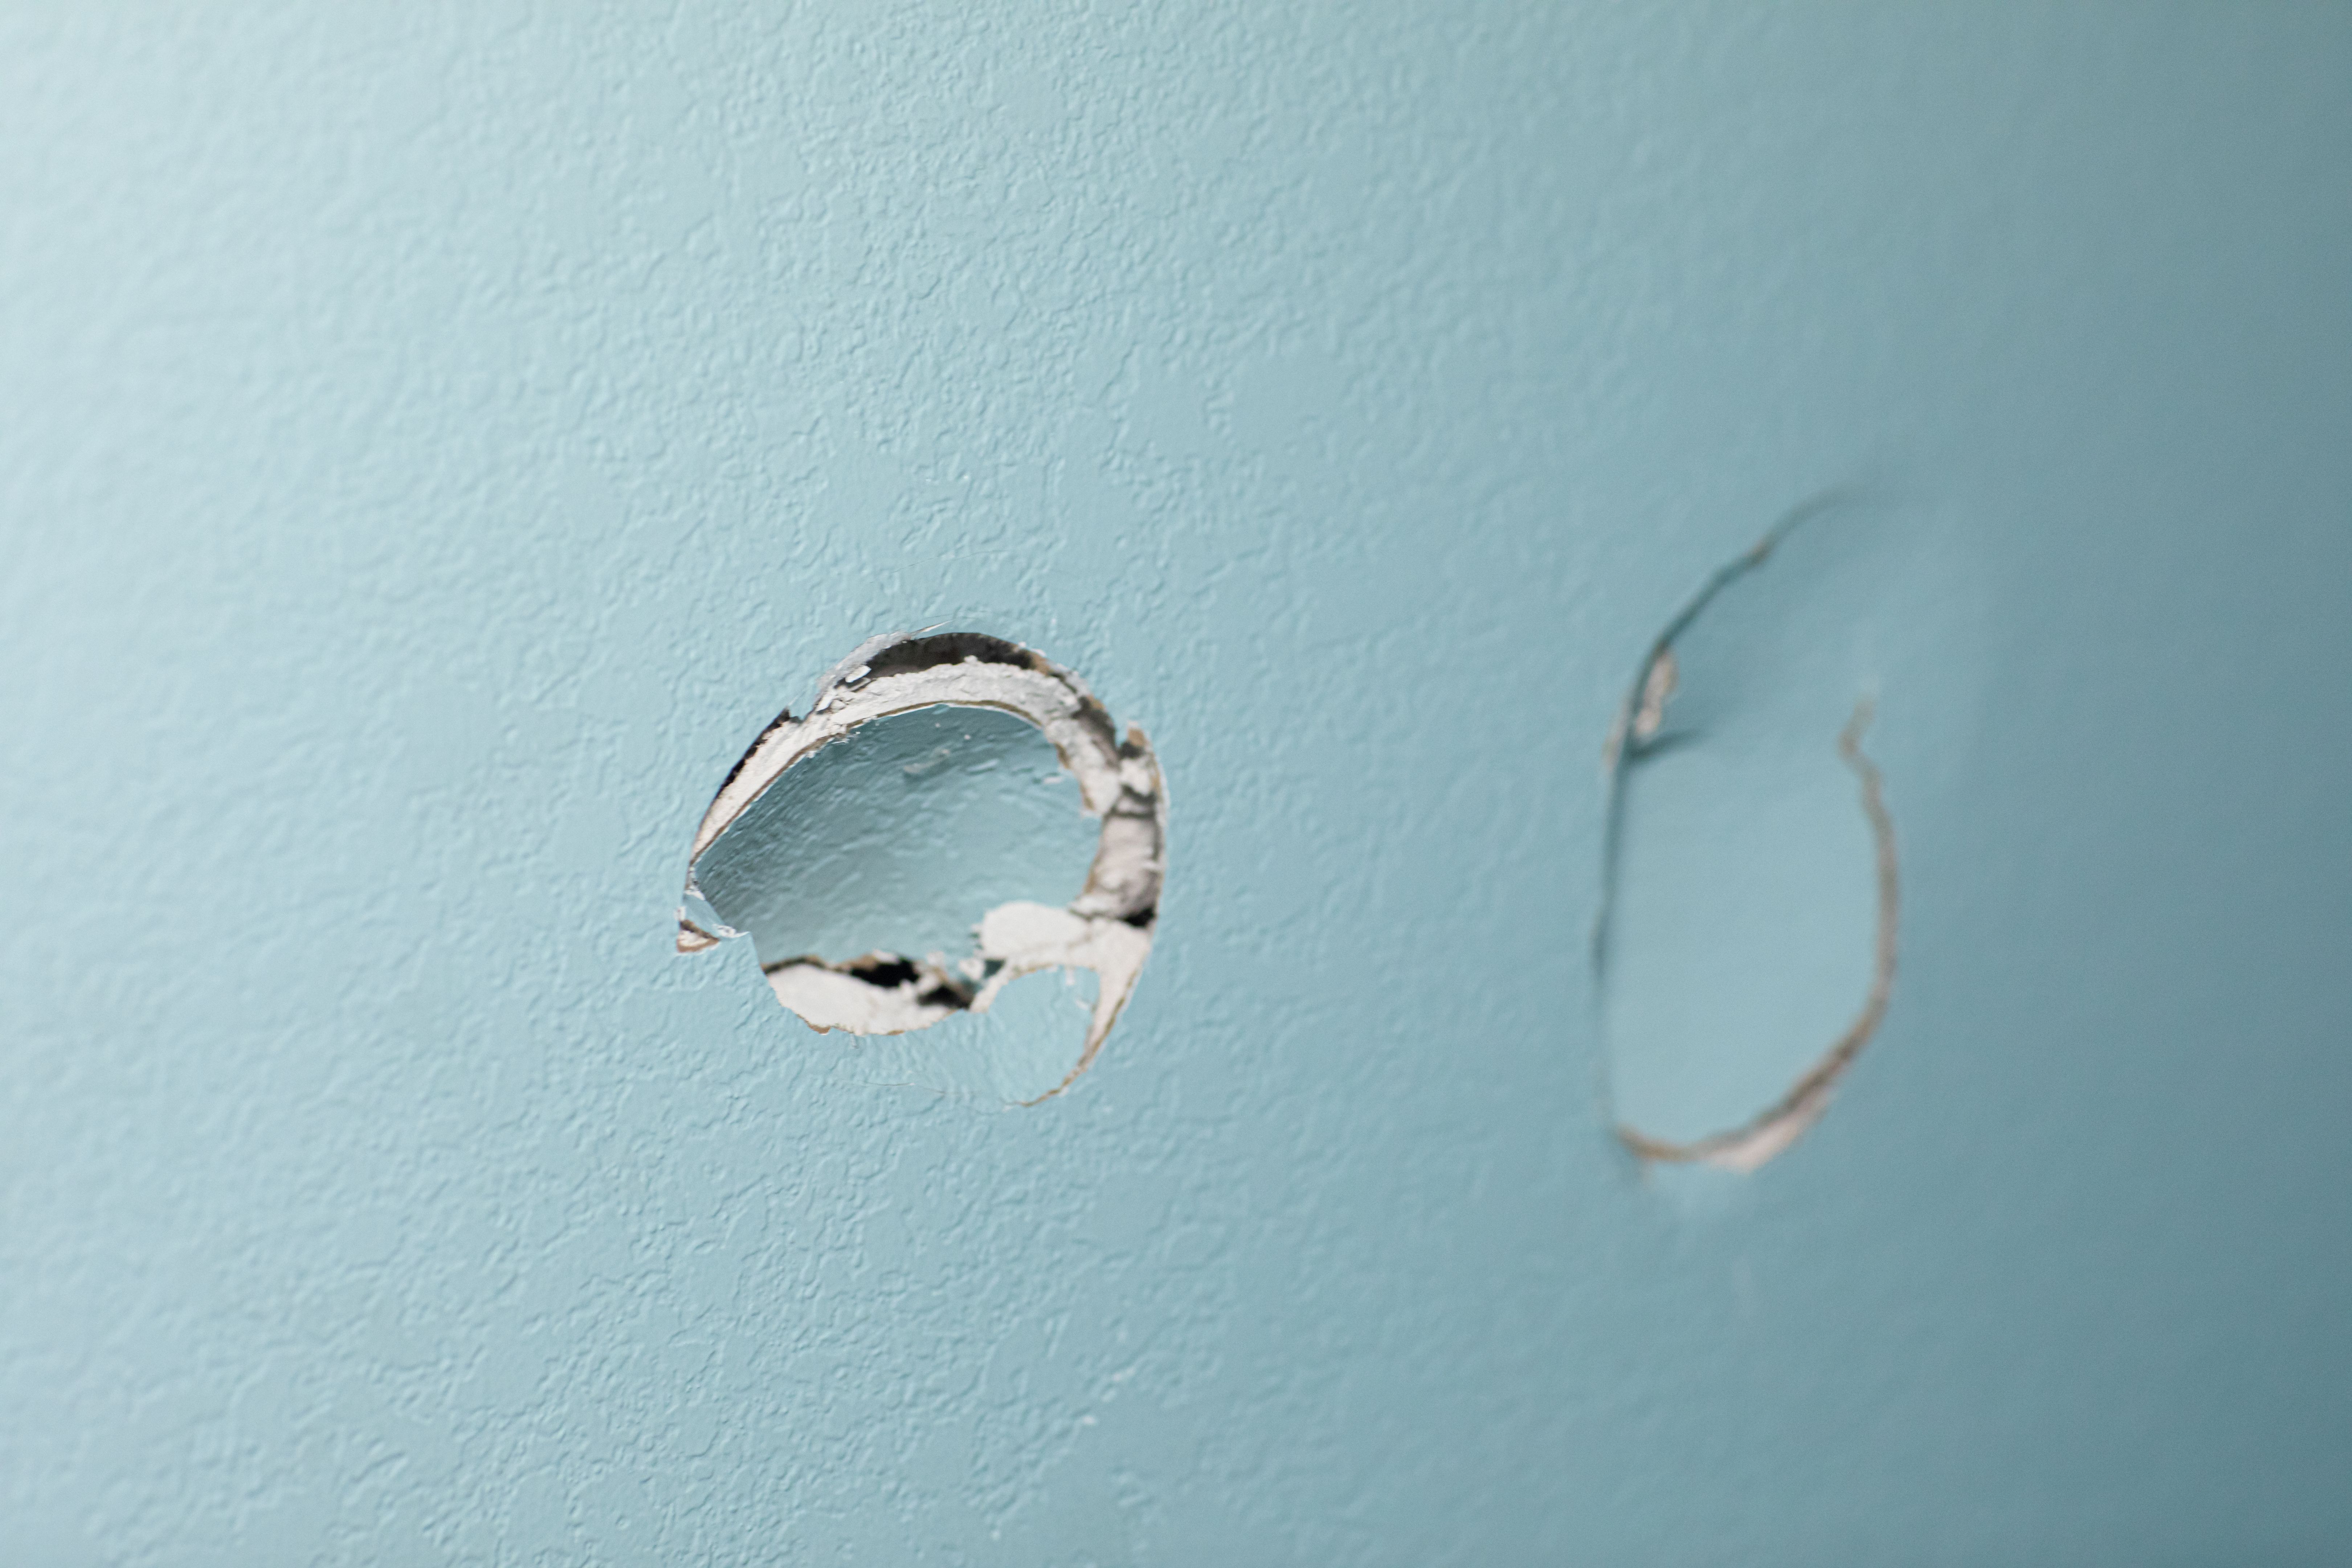
The first step in choosing the appropriate patching technique is to assess the extent of the damage. Small holes, such as those left by nails or screws, can usually be repaired quickly with a bit of spackle or joint compound. However, larger holes or cracks may require more extensive repairs.
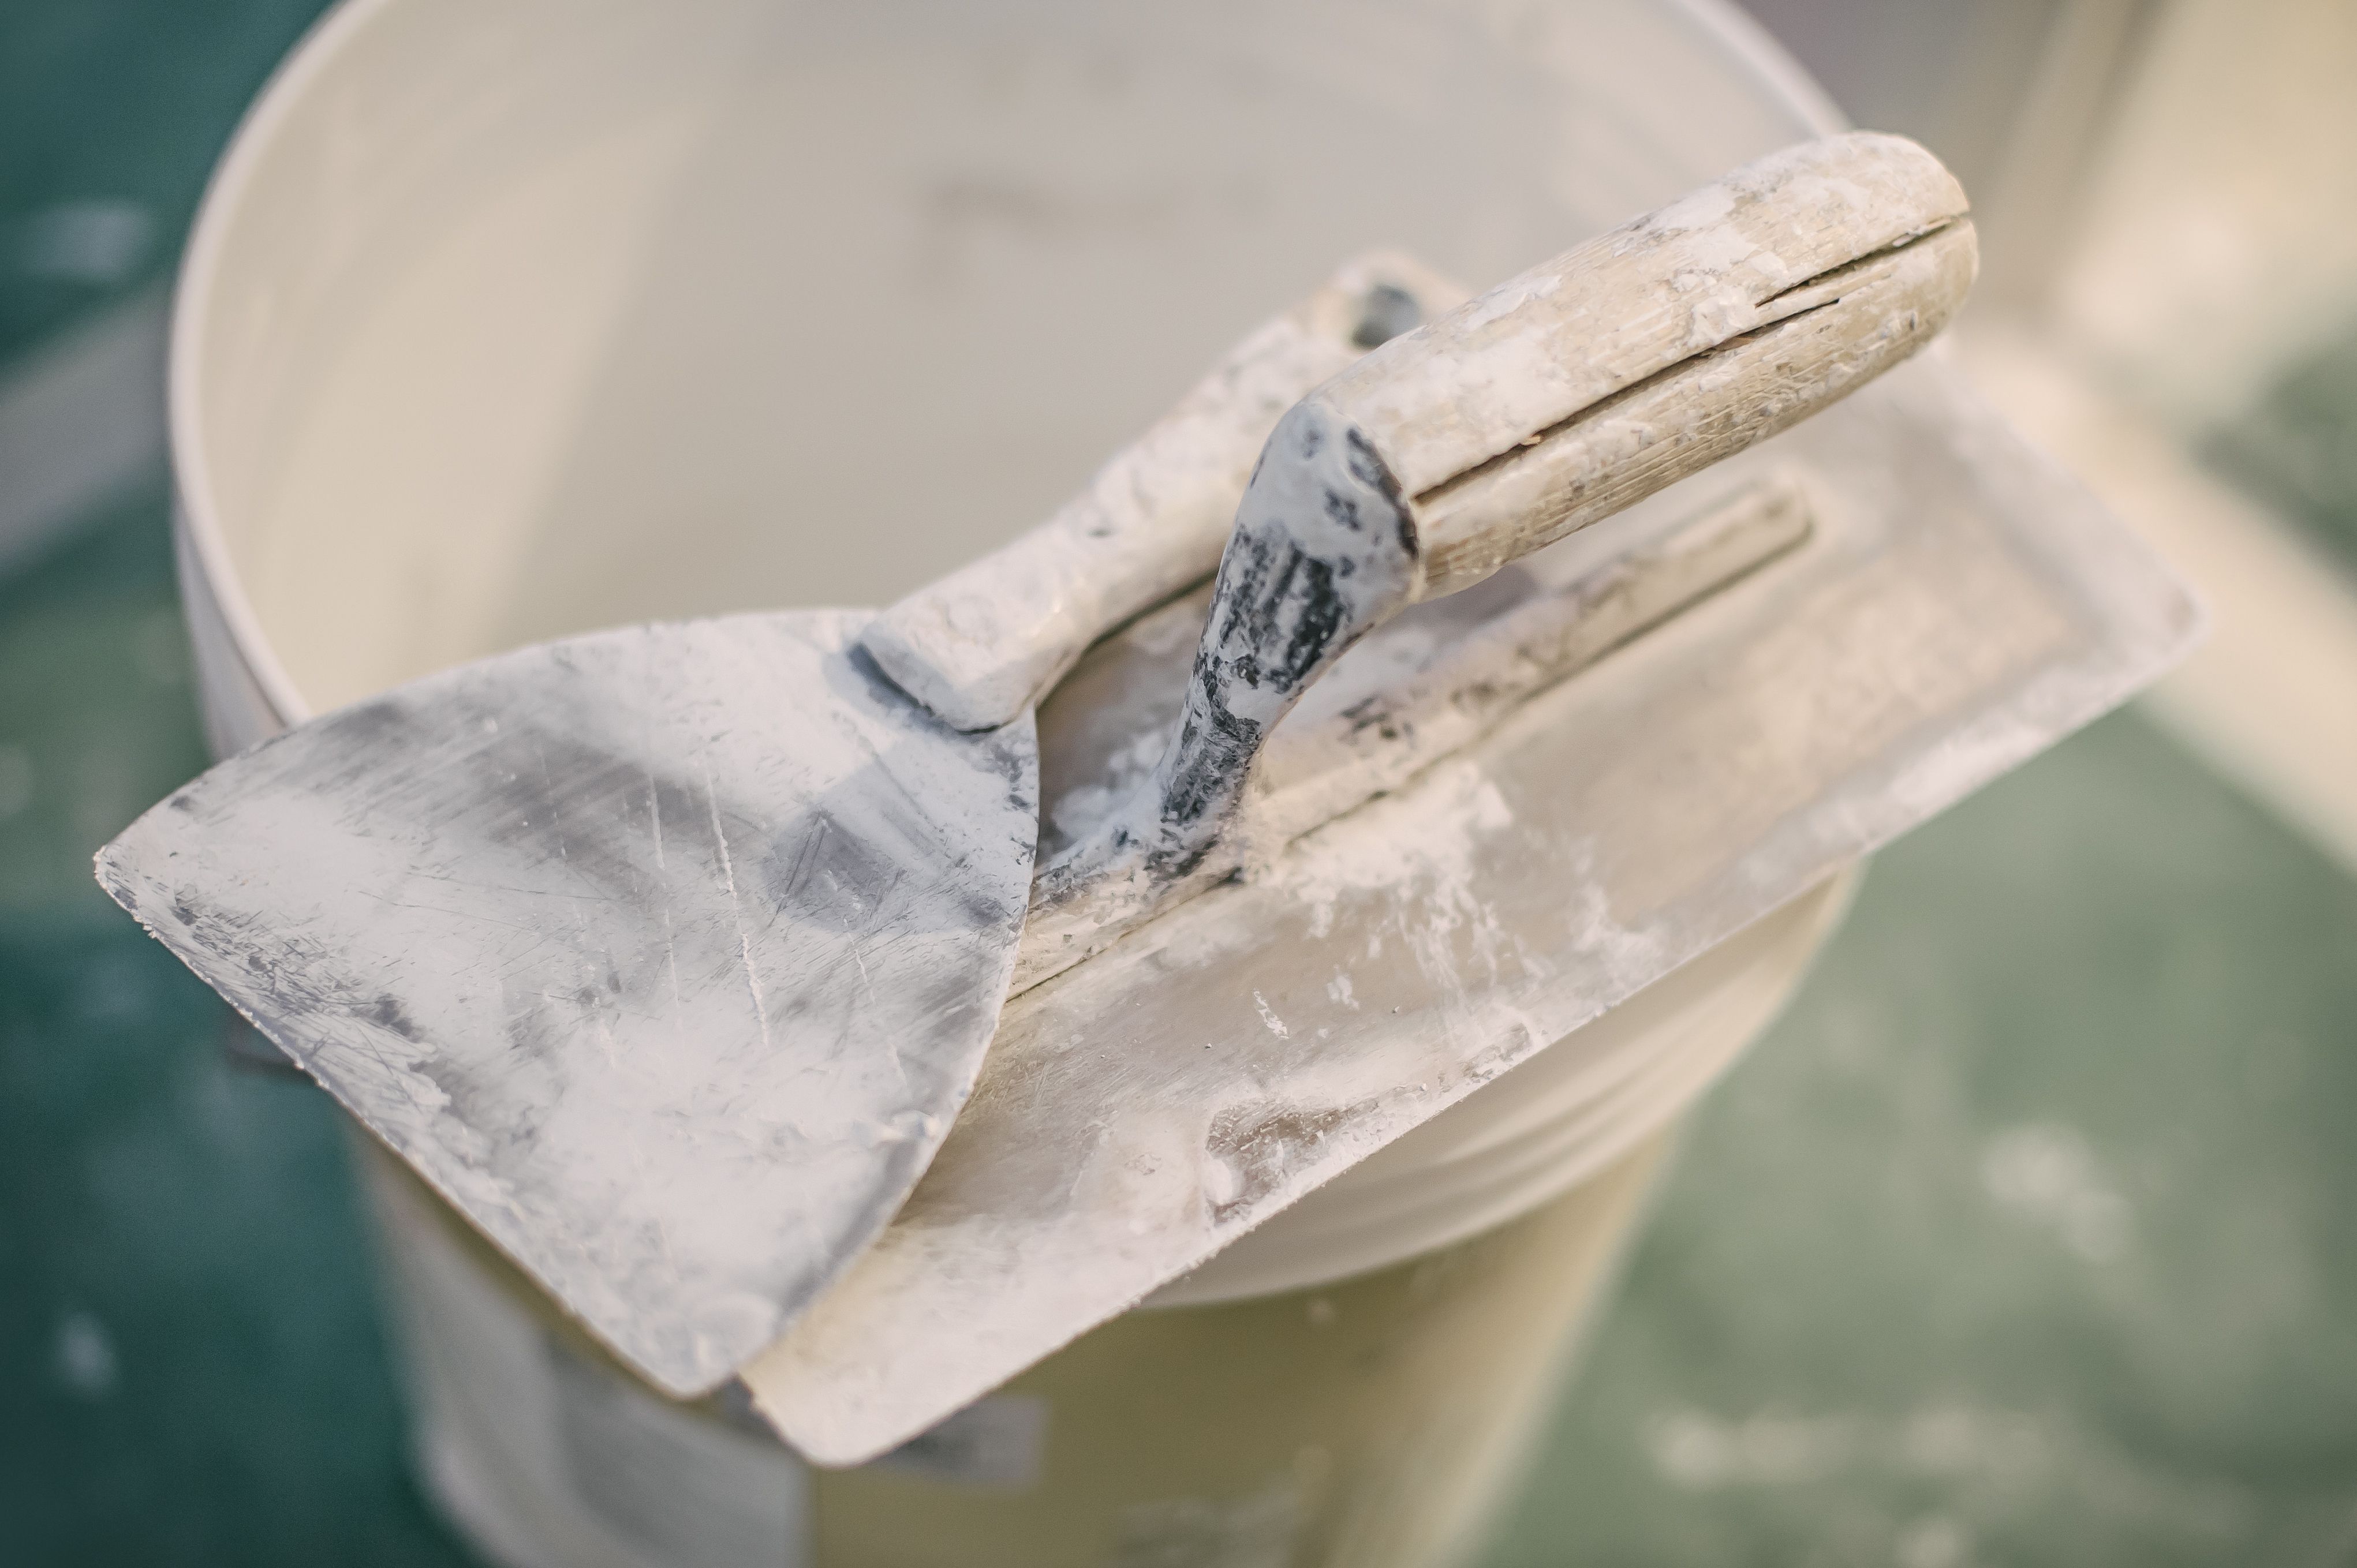
For small holes, consider using a simple spackling paste. It's easy to apply and sand once dry, providing a seamless finish. For larger holes, you might need to use a patch kit that includes a mesh or metal backing to support the drywall compound.
Techniques for Small Holes
To repair small holes, start by cleaning the area with a damp cloth to remove any dust or debris. Apply a small amount of spackle using a putty knife, spreading it evenly over the hole. Once dry, sand the area until smooth and paint over it to match the surrounding wall.
- Spackling: Ideal for tiny holes and imperfections.
- Sanding: Ensures a smooth finish before painting.
Repairing Larger Holes
For larger holes, you'll need a patch kit. These kits typically include a self-adhesive mesh patch that provides support for the joint compound. Begin by placing the patch over the hole and applying joint compound over it with a putty knife. Feather the edges to blend with the wall surface. Allow it to dry completely before sanding and painting.
Remember that patience and precision are key when dealing with larger repairs. Rushing the process can lead to uneven surfaces and visible patches.
Choosing the Right Materials
The materials you choose for drywall patching are just as important as the techniques you use. Opt for high-quality spackle or joint compound for best results. Additionally, using tools like a putty knife, sandpaper, and a sanding block will help you achieve a professional finish.
If you're unfamiliar with these materials, visiting a local home improvement store can provide insights into the best products available for your specific needs.
Finishing Touches
Once you've patched and sanded your drywall, it's time for the finishing touches. Painting the repaired area is essential to ensure it blends seamlessly with the rest of your wall. Be sure to use primer before applying your final coat of paint to improve adhesion and ensure even color.
By following these techniques and using quality materials, you'll be able to handle any drywall repairs with confidence. Not only will this save you money on professional repairs, but it will also give you satisfaction in maintaining your home yourself.